
Aussie Mushrooms 23q Induction Canner
$ 10.80
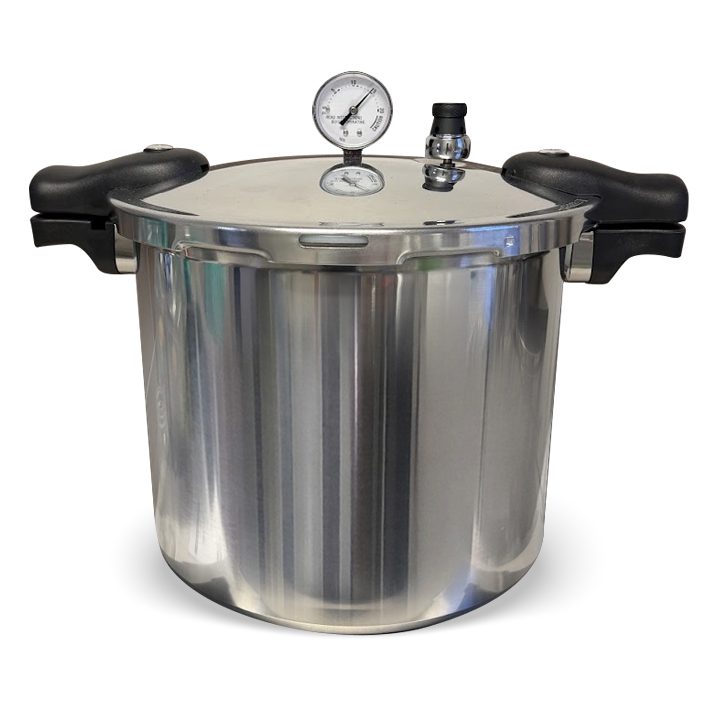
DescriptionAussie Mason 23-Quart Induction Pressure CannerUpgrade your lab or kitchen setup with the ultimate workhorse: the Aussie Mason 23-Quart Induction Canner. Whether you are sterilizing grain spawn and bulk substrate bags for your mushroom grows, or preserving your garden’s harvest, this heavy-duty canner is built to handle it all.Designed with a premium stainless steel base, this unit is fully compatible with induction, electric, and gas stoves, giving you maximum versatility no matter what your setup looks like. Plus, it comes standard with a 15psi regulator, which is exactly the pressure you need for proper sterilization and safe food canning.Massive Jar CapacityMaximize your runs and save time! Here is exactly what you can fit inside this 23-quart beast:4 oz. Jars: 48 (quadruple stacked)Regular Half Pint Jars: 24 (double stacked)12 oz. Jars: 26 (double stacked)Regular Pint Jars: 18 (double stacked)Wide Mouth Pint Jars: 16 (double stacked)Pint and a Half Jars: 8Regular Quart Jars: 7Wide Mouth Quart Jars: 7Half Gallon Jars: 4Step-by-Step Operating GuideStep 1: Fill with Water Fill the canner with enough water for your desired cooking time. The minimum water level should reach the top of your canning rack (about 3–4 Litres).Pro-Tip: We highly recommend using distilled or filtered water to prevent the buildup of calcium and other tap water minerals in the bottom of your canner.Important Note: If your sterilization time exceeds 60 minutes, you will need our upgraded raised canning rack so you can safely add more water. Never let your unit run dry! Running it out of water will bow the bottom, and it will no longer sit flat on your stove.Step 2: Load Your Jars or Bags Add your bags or jars to the canner.For Jars: When loading jars with food or grain, make sure you allow proper headspace.Tighten your jar lids to “finger tight,” and then back them off a 1/5 turn. This allows the air to escape; if they are too tight, the pressure will bend your lids upwards as the oxygen tries to escape.Step 3: Secure the canner Lid Lock the lid of your canner securely into place.Step 4: Heat and Vent Leave your 15psi pressure weight off. Turn your heat source to full and allow the unit to warm up. Once a steady stream of steam starts coming out of the vent pipe, allow it to vent for 10 to 15 minutes. This ensures all oxygen is completely purged from the unit and your jars/bags before you add your pressure weight.Step 5: Regulate Pressure Once the unit reaches 15psi, turn down your heat source to a level that just maintains that desired cooking pressure without cooking to hard and venting all your steam too quickly.if you only need eg 11psi adjust your heat source to maintain your required pressure – if it falls below your required pressure, you may need to start your time again, make sure you stay above your needed processing pressure.Step 6: Start Your Timer Begin your timer for your desired sterilising or cooking time only after the canner has reached pressure.Step 7: Cool Down When your cooking time is up, turn off the heat source completely. Let the canner fully cool down and naturally depressurise to zero and rest for another 10-15min before attempting to open the lid.
 LORD OF THE RINGS SOLOS HORN BK ONLINE AUDIO
 DAVID BOWIE BEST OF 1969-1974 PVG
 KITARISTIN TYÖKALUPAKKI KIRJA DVD (KETOLA TIMO)
 EVEN MORE EASY POP BASS LINES BK CD BGTR